
Life has been a spot hectic lately. I broke my toe, quit my job, and I’ve changed an iffy medication twice. But all in all, I’m free now. There’s a weight that’s been lifted off my shoulders, and I finally feel like I have a chance to properly look after myself and figure out what I actually want to do with my days.
Working in retail was great but hideously draining, and doing it full time as a manager meant never getting to take a breath. I realised I’d completely stopped baking and writing recipes, and I haven’t posted on here for too long! I just didn’t have the energy after work to keep up anymore. But now I’m free, and I’m so excited to get baking more, doing more photographic work, and generally enjoying my days much more. I am finding new hobbies too, and I’m even going to study floristry this year – something I am very vey excited about!
I’ve written about the importance of self care on here before, but oh my goodness it is so important I can’t talk about it enough.
Going into the new year, people set all these wonderful resolutions for themselves, but not many really last more than a few months. Some want to be healthier, exercise more, spend more time on themselves, cut back on caffeine, read more..etc. But when we get back into work, school, life, people forget about these goals. The thing is, they shouldn’t be resolutions you try to stick to each January, they should be important parts of your day to day life. Caring for yourself is so incredibly important, after all you are stuck with you forever! You may as well take a bit of time to care for your own health and happiness.
Take some time each day to eat your favourite breakfast, and make yourself your favourite hot drink. Take some time to go through a proper skin care routine, and don’t forget sunscreen each morning – your future self will thank you. Don’t workout because you feel like you have to, find exercise you genuinely enjoy doing, whatever that may be! I’ve just started horse riding and I am in LOVE. Aside from already loving horses, I am so focused the whole time I don’t even realise I’m getting a full-body workout (it’s so intense? how did I never know!). That is the sort of exercise that will be long-term, and will become part of your routine for years to come.
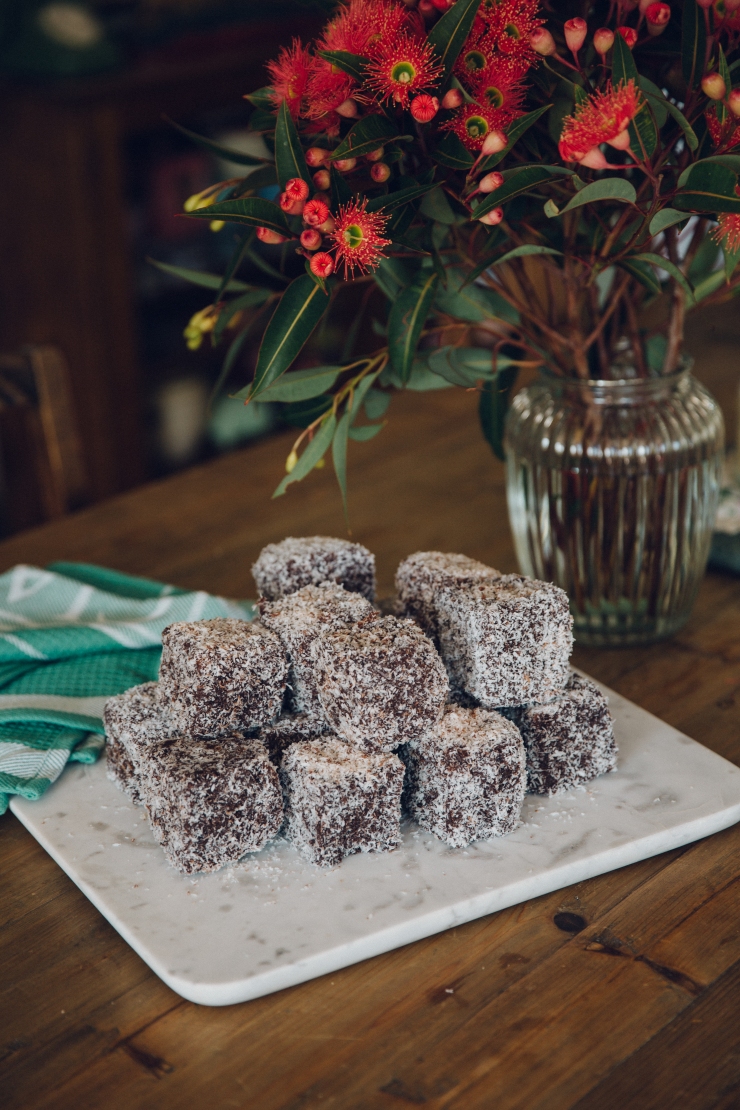
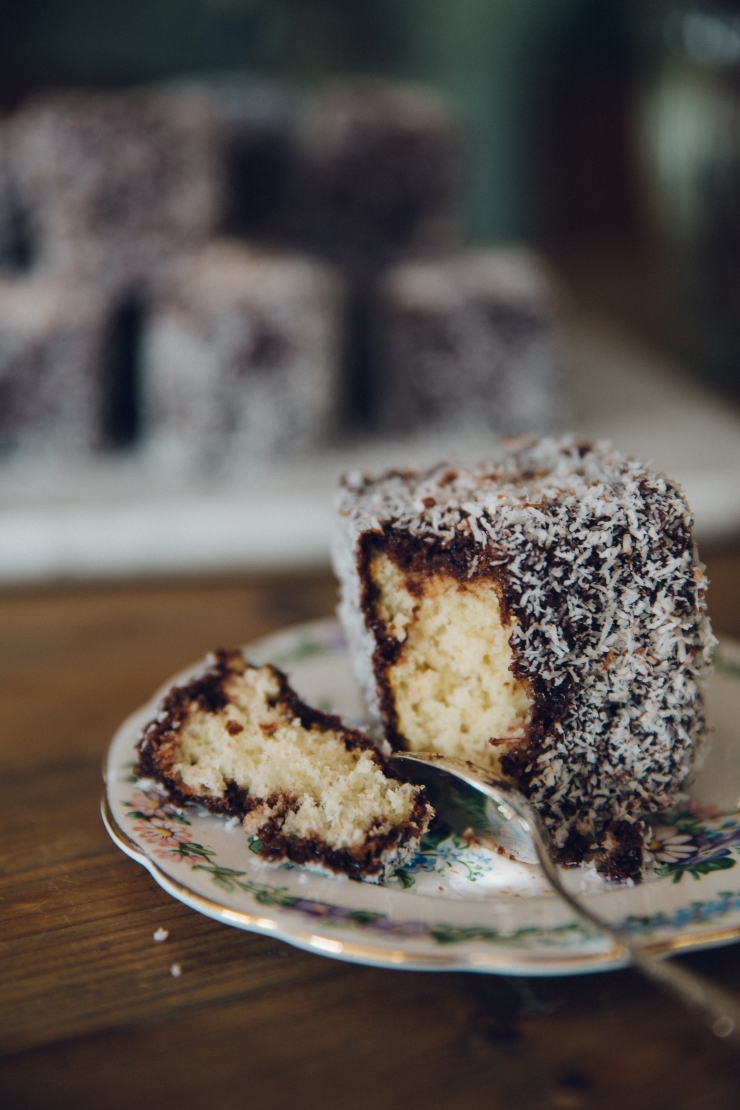
For this recipe I was just craving a good simple lamington, and these lamingtons are proper old-school. An excellent sponge, rolled in a simple chocolate icing, finished with a coat of desiccated coconut. I’ve seen so many fancy versions of lamingtons and don’t get me wrong, I do love a good jam and cream lamington – but honestly classic is always number one.
I’ve been working on my sponge recipe for quite some time now, and whilst it still isn’t spot on perfection in my opinion, it is fabulous for these babies. It’s just dense enough to hold together nicely when you smother it in the icing, but it maintains that super spongey, light texture you really want. And flavoured with a simple hint of natural vanilla, these are just like your great nana would’ve made! (If your great nana could bake that is, I definitely didn’t get my skills from her side of the family…)
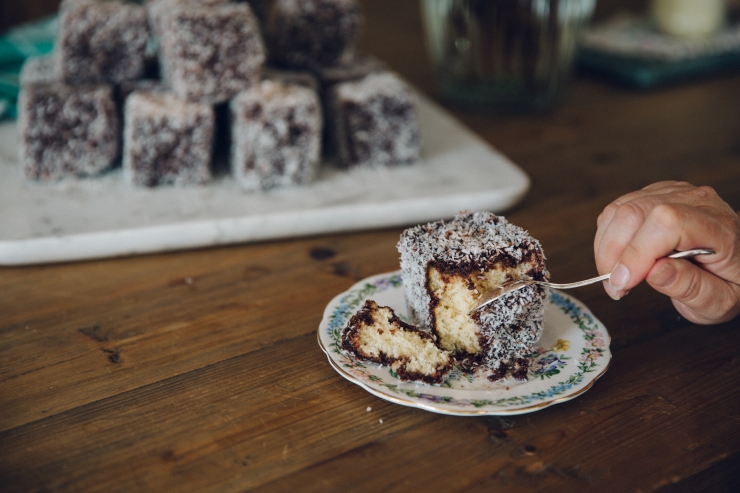
Please enjoy these with as many people as possible, share the lamington love!
Lamingtons
Preparation Time: 40 Minutes
Cooking Time: up to 50 Minutes
Makes 24 Decent-sized Lamingtons
Ingredients:
For the Sponge:
- 4 Cups All-Purpose Flour
- 2 Cups Caster Sugar
- 8 Teaspoons Baking Power
- 1 Teaspoon Salt
- 1 Cup Butter*
- 2 Cups Milk*
- 2 Teaspoons Apple Cider Vinegar
- 2 Teaspoons Vanilla Extract
For the Icing:
- 4 Cups Icing Sugar
- 1 Cup Cocoa Powder
- 1/2 Cup Boiling Water
- 1/2 Cup Coconut Oil, Melted
- Desiccated Coconut to coat!
Method:
For the Cake:
- Pre-heat your oven to 170°C, and grease a 9×13″ tin with butter, and line the base with a sheet of grease-proof paper.
- In a large bowl, sift in the flour, baking powder, and salt. You want it super light and airy, so feel free to sift the mix a few times!
- In a stand mixer, combine the butter and sugar and beat until light and fluffy. You can also do this in a bowl with a hand mixer if you don’t have a stand mixer! Once it’s light and fluffy, add the milk, apple cider vinegar, and vanilla extract, and mix until very well combined.
- Scoop in the dry mix into the wet a half cup or so at a time mixing in each time, so it incorporates easily and stops you over-mixing it! If you’re doing this in your mixer, turn it right down to low and use your splash guard if you have one – you’ll thank yourself later.
- Once your mix is a lovely cake batter, pour it into your pre-prepped tin and pop it in the oven. It’ll take anywhere from 35-50 minutes to bake depending on your oven! So check it at about 35, then every 5 minutes or so after until it is a lovely golden and a skewer comes out clean. As they say with baking, it’s done when it’s done!
Once out of the oven, leave it to cool in it’s tin whilst you make the icing.
For the Icing:
- In a large mixing bowl, sift the icing sugar and cocoa powder. Make a well, and mix in the boiling water with a whisk.
- Whilst still whisking, mix in the melted coconut oil. Now, consistency is definitely important here – you want it runny enough that it will easily cover the cubes of sponge, but not too runny that it will just melt away! I think it’s best at a similar consistency to a pancake batter, so if you need a spot more hot water, or a bit more icing sugar, go for it. It’s hard to really mess up an icing so don’t stress!
- Pop the icing aside, and flip your cake out onto a cooling rack to cool completely.
Assembly:
- Once your sponge is completely cool, pop it onto a large cutting board and cut out 24 cubes of fluffy goodness. I did 4 rows of 6 and they were great cubes! But of course it’s up to you, so if you want bigger or smaller or rectangular just do as you wish. Set aside a large plate or bowl with the coconut to roll them in.
- One by one, using two forks drop a cube of sponge into the icing and flip it so all sides are coated evenly. Gently pull it out with the forks (don’t poke it though, you’ll break it up!), and hold it in the air for a few seconds to let excess icing dribble off. Plop it down into the coconut, and gently pat coconut onto the sides and top. Roll it around so it’s covered real good, then set your beautiful lamington on a board or plate!
- Once you’ve done all of them, pop them in the fridge to set for a half hour or so. This will set the coconut oil a bit so they hold together real nice!
And that’s it! Lamingtons!!
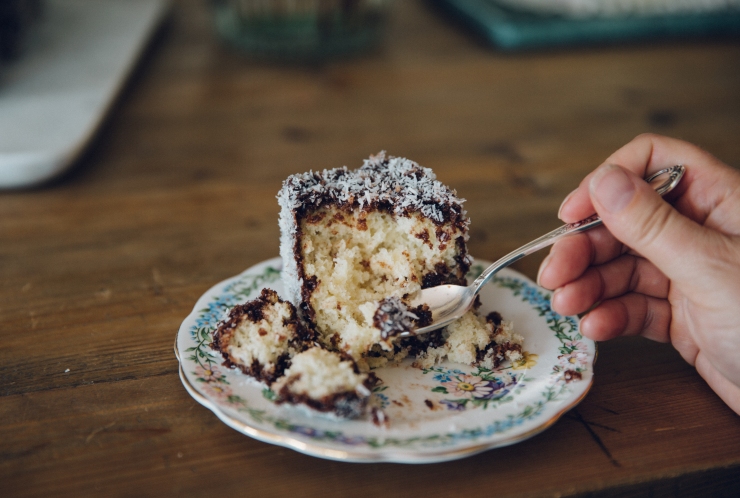
These are actually so simple, and taste super old-fashioned – just as they should!
If you make some please show me, and if there’s anything you’d like me to make or chat about please don’t hesitate to shoot me a message 🙂
– Persephone
*I used Bonsoy for my milk, and plain Nuttlex for my butter for this recipe. Though anything similar will work lovely! They are decent sponge that’ll be happy with butter, or any milk you choose!


Leave a comment